
Vinyl Siding Repair Kit: Patch or Replace the Panel?
Learn when a vinyl siding patch kit is enough, when to replace a panel, and which tools and materials belong in a dependable DIY repair kit.
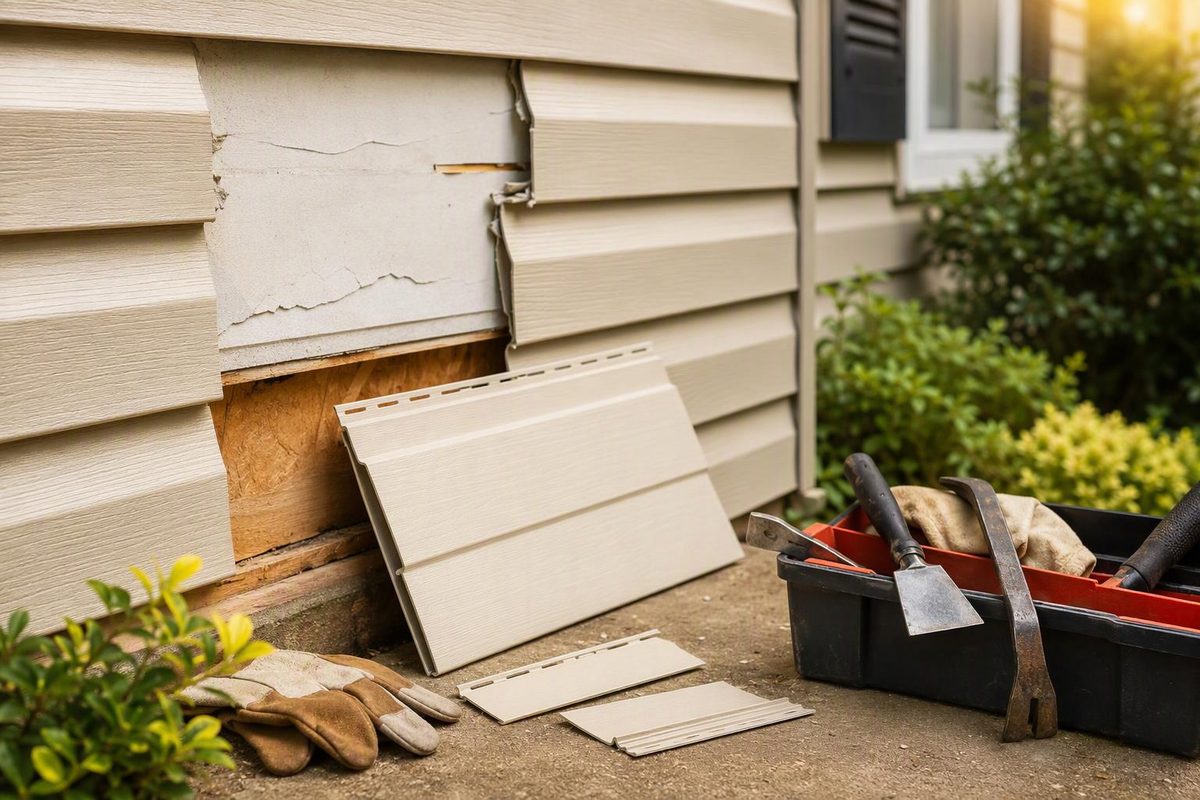
A peel-and-stick vinyl siding repair kit can cover a small hole, but it is not the right repair for every crack. If the panel’s lock, nailing hem or molded shape is damaged, the more dependable “kit” is usually a zip tool, a matching replacement panel and the correct fasteners.
Choose the repair by the damage
| Damage | Better repair | Main limitation |
|---|---|---|
| Small puncture, about 1 inch or less | Exterior filler specifically suitable for vinyl, followed by the specified primer and paint | The color and texture may remain visible |
| Small crack or hole in an otherwise sound panel | A surface patch sold for vinyl siding, if its instructions permit the exposure and application temperature | It is a cosmetic cover and cannot restore a broken lock |
| Large hole, long crack, crushed profile or broken locking edge | Replace the panel | Matching an older profile and weathered color can be difficult |
| Loose but undamaged panel | Re-engage the lock with a siding zip tool | Repeated loosening can indicate a damaged lock or fastening problem |
| Damage near a window, corner, roof intersection or fixture | Inspect the flashing and water-resistive barrier where accessible | A face patch cannot correct damage in the drainage assembly |
Lowe’s uses 1 inch as a practical screening point: holes up to that diameter can be candidates for compatible patching material, while larger holes may require panel replacement. Its guide also warns that matching the thickness, width, style and aged color can be difficult (Lowe’s, updated June 3, 2025). Treat the size as a rule of thumb, not a substitute for the siding and repair-product manufacturers’ instructions.
What belongs in a small-hole patch kit
For one small, low-visibility puncture, buy only what the selected repair method requires:
- Exterior filler specifically labeled as suitable for vinyl siding, or a flexible surface patch sold for that use
- Cleaner compatible with the repair product
- A plastic putty knife for filler
- The specified sandpaper, if surface preparation is required
- Primer and exterior paint approved for vinyl, if the repair is paintable
- Gloves and eye protection
Before buying a self-adhesive patch, check its dimensions, required overlap, application-temperature range, surface-preparation instructions and whether it can be painted. “Weatherproof” on the package does not establish compatibility with every vinyl finish or climate. Because a patch sheet sits on the face, expect visible edges and a different texture under some lighting.
Filler takes more finishing. DAP’s published method calls for knocking down rough edges, lightly sanding with 220-grit paper, cleaning the surface and applying exterior filler. It specifies two thin applications for holes deeper than 1/4 inch, followed by drying, sanding, priming and vinyl-safe exterior paint (DAP). Follow the directions for the product you actually buy rather than transferring DAP’s cure times or sanding sequence to another brand.
Paint choice matters. Lowe’s cautions against applying dark paint over light-colored vinyl because the darker surface can absorb more heat than the panel was designed to tolerate and may warp. Use a paint approved for vinyl and keep the replacement color within the siding or paint manufacturer’s limits (Lowe’s).
Do not mistake the siding face for the wall’s only water defense. Industry installation guidance calls for vinyl siding over a continuous water-resistive barrier, with flashing integrated around openings, corners and roof intersections (Polymeric Exteriors). If the impact also tore the barrier, displaced flashing or exposed soft sheathing, repair that layer before closing the siding. Use the barrier manufacturer’s approved tape or repair method rather than assuming any “housewrap tape” is interchangeable.
The better kit for replacing a panel
For a split or deformed panel, assemble:
- A vinyl siding zip or unlocking tool
- A correctly matched replacement panel
- Corrosion-resistant siding fasteners that meet the panel manufacturer’s requirements
- Tin snips or another approved cutting tool
- A small flat bar or nail puller
- The approved materials for any minor water-resistive-barrier repair
- Tape measure, pencil, gloves and safety glasses
Before buying material, check the garage, attic or basement for leftover original panels. Otherwise, bring measurements and clear photos—or a removable sample—to a siding distributor. Match the manufacturer, product line, profile, exposure, texture, thickness and color, not merely a description such as “double 4-inch beige.” Even a current panel in the original color may stand out beside siding that has weathered for years.
For replacement, a zip tool releases the course above the damaged panel so its fasteners can be removed. The new panel locks into the course below, is fastened through its nailing hem and is then relocked to the upper course. Lowe’s illustrates that sequence and advises maintaining the existing direction of the panel overlaps (replacement instructions).
The fastening details are more important than they look. Vinyl siding can expand and contract by 1/2 inch or more over a 12-foot-6-inch length. Polymeric Exteriors therefore calls for fasteners centered in the slots, approximately 1/32 inch of clearance under the heads and panels left free to move. Its general guidance sets a maximum 16-inch fastener spacing for horizontal siding unless the manufacturer permits otherwise based on testing (installation manual). Follow the replacement panel manufacturer’s instructions where they differ.
Do not face-nail through the visible surface simply to pin a loose panel, and do not caulk ordinary panel laps. Either can interfere with the movement and drainage the assembly is designed to allow.
When not to buy a quick patch
Skip the cosmetic kit and investigate further when:
- Several panels cracked from the same impact
- The siding is melted or distorted over a broad area
- The wall feels soft or shows staining below the damage
- Water is entering near a window, door, light, vent or roof intersection
- A corner post or J-channel is extensively split
- The repair requires unsafe ladder work
- A panel repeatedly comes loose after being relocked
A patch kit is reasonable for a small, isolated blemish where a visible repair is acceptable. A split panel, broken lock or damaged nailing hem calls for panel replacement. If damage extends across several courses or reveals deterioration behind the siding, compare a localized repair with the wider options in our guide to when siding should be replaced.