
Outside Corner Moulding: Choose Trim That Fits Your Siding
Choose outside corner moulding by siding fit, channel size, upkeep and installation details. Learn what to measure and include in a replacement quote.
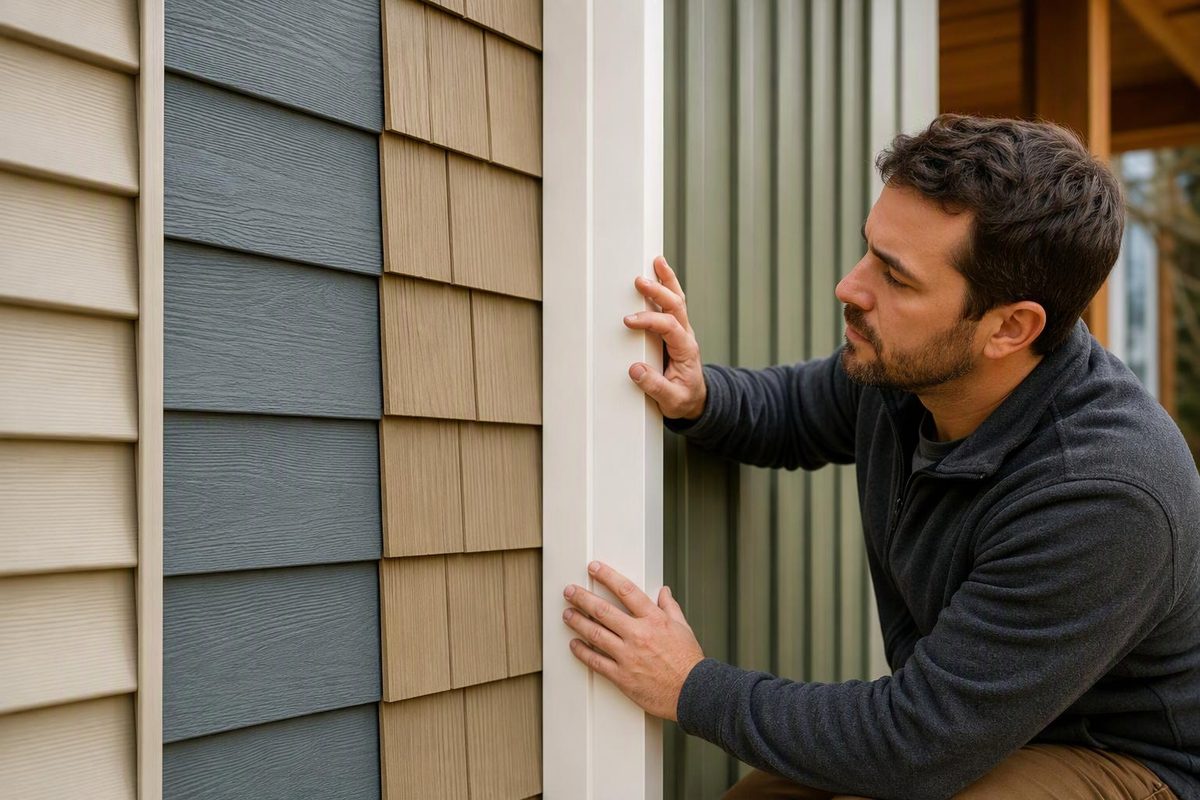
Outside corner moulding finishes the projecting corner where two exterior walls meet. For siding, the right purchase is an exterior-rated corner detail that fits the cladding, not simply an L-shaped strip in the right color.
Start with the siding brand and profile. A vinyl corner post receives panel ends in channels; a solid corner board provides an edge for siding to meet. Those details have different fastening, clearance and sealing requirements.
Which type do you need?
Vinyl siding: a compatible outside corner post
A conventional vinyl corner post has channels on both sides for the adjoining walls’ siding. Channel openings come in different widths to accommodate different siding configurations, so matching the visible face alone is not enough. Check the required receiver size against your siding’s installation instructions. The Vinyl Siding Institute’s installation manual describes these channel-based corner details and directs installers to use manufacturer-specified parts.
For replacement, record the old post’s face width, receiver opening, texture, color and length. Do not assume a wider decorative corner will fit the existing panel ends without changes.
Cellular PVC: a solid-board look, sometimes with built-in channels
PVC corner trim can provide a broad, painted-wood-style appearance. Some products include siding receivers: AZEK J-Quick Corner, for example, is a one-piece corner board with an integrated 13/16-inch J-channel. Its nominal 4-inch outside corner has actual 3½-inch faces; the nominal 6-inch version has 5½-inch faces.
That distinction matters when matching existing trim. Specify actual dimensions, not just the nominal product name.
PVC also requires its own movement and joint details. AZEK’s Premium Trim does not need paint for protection, but its PaintPro line must be painted. The company warns that dark colors can increase PVC movement and specifies compatible coatings for darker finishes. Check the exact product line before treating “PVC” as synonymous with no painting. See AZEK’s trim installation guide.
Wood siding: corner boards or mitered siding
For cedar siding, corner boards are a simpler alternative to mitering the siding around the corner. Board thickness must suit the siding thickness; width is principally an appearance and proportion decision. The Western Red Cedar Lumber Association identifies ¾-inch and 1¼-inch as common corner-board thicknesses and instructs installers to prime or stain end cuts. Its corner-board guidance also emphasizes protecting corners from weather exposure.
Choose wood when real-wood trim is part of the desired finish, and include finishing the cuts and maintaining the coating in the job—not just buying the boards.
Fiber cement: a documented trim-board assembly
Fiber-cement corners can be assembled from trim boards rather than a channel-style vinyl post. James Hardie’s September 2025 HZ10 trim instructions allow corners to be built on the wall or prebuilt, with each side secured to the wall. They specify a minimum ⅛-inch gap between siding and trim, followed by caulking. These are HZ10-specific instructions, not a universal detail for every fiber-cement product or climate zone. Confirm the guide for your selected product and location through James Hardie’s installation documentation.
For metal or engineered-wood siding, likewise ask for the manufacturer’s documented corner detail before substituting a generic moulding.
Appearance is not water protection
A neat corner does not establish that the wall behind it is protected. Vinyl siding needs a continuous underlying water-resistive barrier and flashing integrated with that barrier at corners and other vulnerable locations. The VSI manual addresses both and directs readers to check local code requirements.
CertainTeed provides a concrete example: its vinyl accessory instructions call for flashing corners at least 10 inches on each side before installing corner posts. They also require posts to remain free to expand and contract, with fasteners not driven tight. See CertainTeed’s corner-post instructions.
Do not caulk every visible gap. The VSI manual says not to caulk vinyl panels where they meet outside-corner receivers. That differs from the caulked siding-to-trim joint in the Hardie detail above. Copying one material’s method onto another can defeat the intended installation.
What to measure and put in the quote
Before ordering or approving replacement, ask for:
- Product identification: material, brand, profile and exterior-use documentation.
- Fit: actual face width, thickness, receiver opening where applicable, and corner angle.
- Quantity: each corner’s height, available stock lengths, planned splices and cutting waste.
- Complete scope: removal, access equipment, adjacent siding work, flashing or barrier repairs, fasteners, adhesives, specified sealant and finishing.
Compare the total installed corner detail—not a price per stick against another contractor’s complete repair. If the corner is loose, cracked or separating, have the installer identify whether the problem is confined to trim or involves its attachment and the wall behind it.
When damage extends beyond the corner, use condition and extent to decide how much siding to replace, rather than assuming new moulding alone will solve it.